Wednesday 27 April 2011

CALL ME SUPERSTITIOUS

700_1487

                                                           Go Canucks, Go!

700_1492

I’m not ordinarily superstitious, but these are extenuating circumstances.  My colleagues proclaimed many weeks ago that they would grow out their beards so long as the Canucks were in the playoffs.   Ahem…that is, the males on staff, of course.

700_1493

At one time in my youth, during the Canucks’ first run at the Stanley Cup in the 80’s, I was such an avid fan I used to listen to every single game (there were only 80 in a season at the time) on CKNW.  I did strange things during the playoffs to ensure that they would win.  At one point during that infamous Stanley Cup run, I had my mom trim my hair every time they lost because right after I cut my hair, they won a game.  I was looking mighty punk-rock after a while. 

700_1494


I was such a great Canucks Booster that I owned a Canucks Cookbook (yes, believe it or not I still have it), I attended all sorts of fan events and sought their pics and autographs at gas stations, around the Coliseum, and at my high school ice rink, where they used to hold their practices.  I even *gasp* skipped one block once to watch them practice.  I still have stashed away in a shoebox all sorts of autographed hockey cards from the 80’s and 90’s with newspaper clippings and other Canuck paraphernalia.  Though I was definitely not a stalker--I somehow even managed to find out what types of cars each Canuck drove.  My girlfriends hung around the Coliseum a lot and watched as the players would come and go.  They told me. I swear! and I knew their hockey stats, marital status and other such trivia by heart.  I could name most players in the NHL on sight of their jersey number and I even knew heights, weights and some of the birthdays of my favourite hockey players.  Ah, youth!  I was a passionate Canucks fan, to put it mildly.

700_1495

Nowadays, I seem to have fallen off the bandwagon.  I still watch games on t.v. here and there and attend perhaps one game a season (gratis! from hubby's excellent behind-the-home-bench-so-close-you-can-smell-the-players-company seats) but I watch primarily playoff games.  Every year, I enter the hockey pool at work --and never win! but alas, I am not as fervent a “believer” as I used to be.

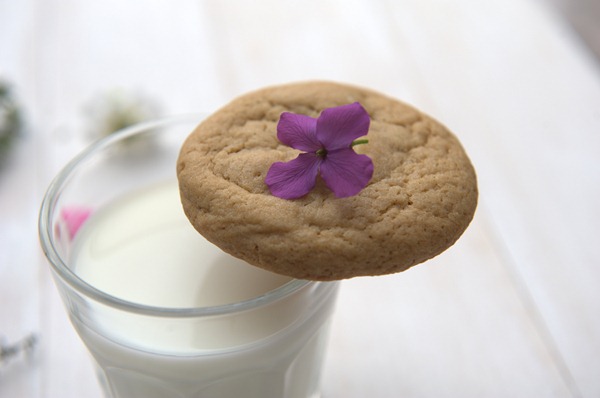
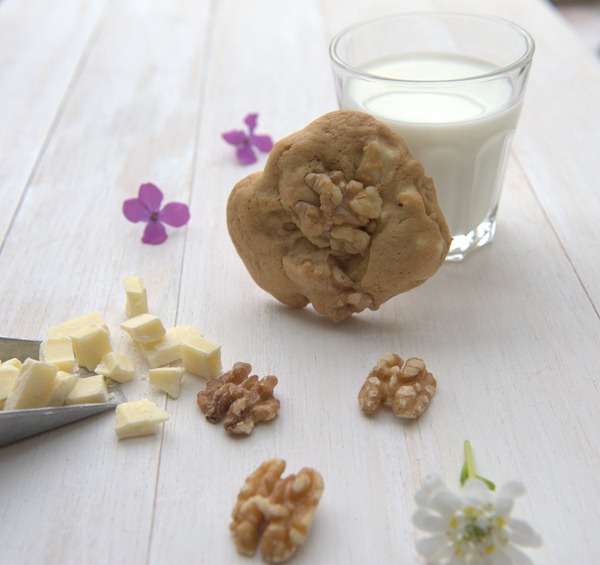
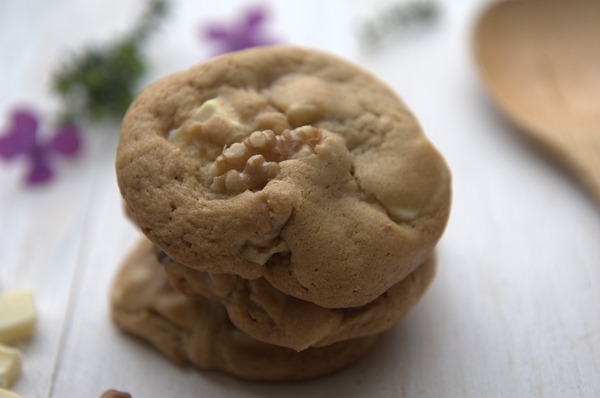
What has all this hockey stuff got to do with my batch of White Chocolate Walnut Cookies?  Well, last night during the 7th game of the Canucks’ nail-biting overtime win against the Chicago Black Hawks, I was baking a batch of these cookies.    You know how players and fans have their superstitions about doing the same things to ensure good luck (or ward off back luck)?  Well, now I have this overwhelming feeling that I have to bake cookies every time they play to ensure they have a win.    It’s not as if I could try growing a beard anyway.

700_1497


If they make it all the way to the final round of the playoffs for the Stanley Cup, I’m either going to get really really fat or preferably, my colleagues are going to be extremely happy after every game as they would undoubtedly reap the edible rewards. 

700_1498


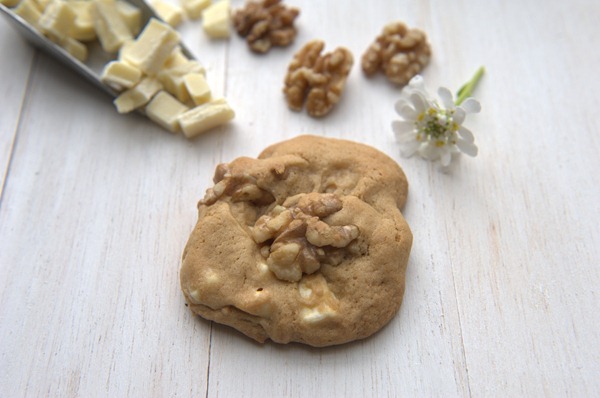
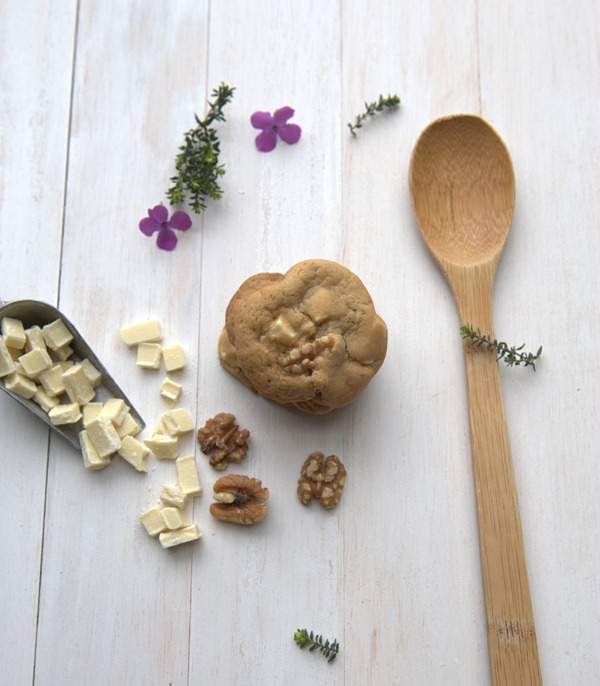
I used Callebaut White Chocolate Chunks and Walnut Halves for these cookies.  The recipe is unique in that it employs only bread flour.  This, along with honey (I used Manuka honey—tres expensive! but that’s all I had at home) will ensure a cookie that will be soft and stay soft… if they can last that long.  You can substitute the walnuts with macadamias or pecans but the walnuts added a faintly bitter edge that can temper the cloying sweetness that you can sometimes get with white chocolate.

This recipe comes from one of my favourite cookbooks, The Professional Pastry Chef, by Bo Friberg.  I've had this book for years.  It's like a Baking Bible to me.   I have also made the Chocolate Chip Cookie recipe and it rocks!  The book is a behemoth that is fully 5.5 cm thick (2 1/4 inches)!  The only drawback is that there aren’t tons of pictures.  There are a few pages of pictures that intersperse sections of the book, but by no means is every recipe illustrated with a photo.  I’m a sucker for pictures, I must admit.  However, if every recipe were illustrated the book would have to be produced in a few volumes instead.


So here I am providing you with a series of pictures for this particular photo-less recipe.  And here’s the recipe.  I didn’t adapt anything other than the timing.  I baked them 13 minutes whereas the recipe calls for 15 minutes.  I like my cookies very soft and under-baked (yum!  cookie dough!) As well, I saved two-thirds of the dough in rolls of parchment in the refrigerator because I like my cookies freshly baked.  I’ll let you know how the aged dough tastes after Thursday’s game!

My advice is for you to weigh your ingredients like I did to achieve consistent results to the recipe.

CHUNKY WHITE-CHOCOLATE WALNUT COOKIES
from The Professional Pastry Chef  by Bo Friberg
yield:  60 cookies, approximately 2 3/4 inches (7 cm) in diameter.
  • 14 oz (400 g) white chocolate [I used Callebaut White Chocolate Chunks]
  • 12 oz (340 g) walnuts [I used halves, which I carefully incorporated into each cookie by hand as I was forming them]
  • 8 oz (225 g) unsalted butter, at room temperature
  • 8 oz (225 g ) light brown sugar
  • 6 oz (170 g) granulated sugar
  • 1 teaspoon (5 g) salt
  • 3 large eggs, at room temp
  • 1/4 cup (60 ml) or 3 oz (85 g) honey [I used Manuka Honey]
  • 2 teaspoons (10 ml) vanilla extract
  • 1 lb 2 oz (510 g) bread flour
  • 1 1/2 teaspoons (6 g) baking soda
  1. Chop the white chocolate and the walnuts into raisin-sized pieces and set aside. [I used Callebaut White Chocolate Chunks that are the perfect size already and Walnut halves, which I refused to chop because they were so gosh-darned pretty]
  2. Using the dough hook at low to medium speed, mix together the butter, brown sugar, granulated sugar, and salt until well combined.  Add the eggs, honey and vanilla.
  3. Sift together the flour and baking soda.  Add to the butter mixture.  Stir in the chopped walnuts and white chocolate.  Chill the dough if it is too soft to form.
  4. Divide the dough into 3 equal pieces, approximately 1 pound 9 oz (710 g) each.  Roll each piece into a 20-inch (50 cm) rope; use flour as needed to prevent the dough from sticking.
  5. Cut each rope into 20 pieces and place them, staggered, on sheet pans lined with baking paper or Silpats.
  6. Bake the cookies at 350 degreesF (175 degrees C) just until they start to colour, about 15 minutes [13 minutes for mine].  They taste best if still somewhat soft in the centre.

Saturday 23 April 2011

LIN CHINESE CUISINE


IMG_0525

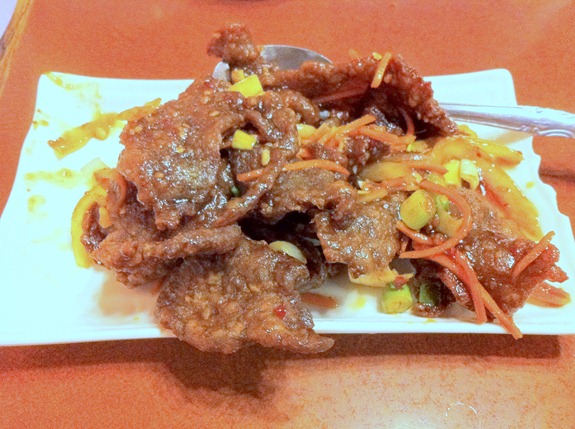
Orange Peel Beef.  5/6


IMG_0526

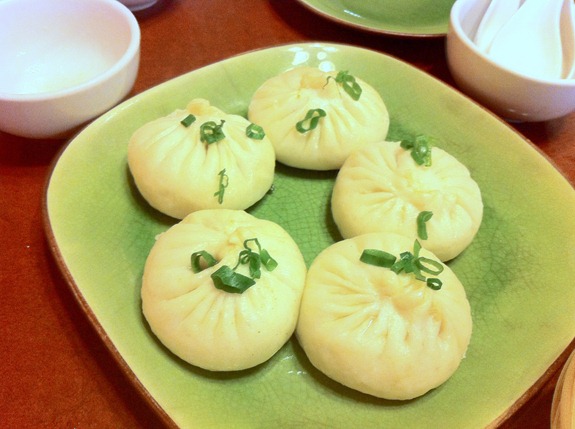
Panfried Pork Buns.  6/6
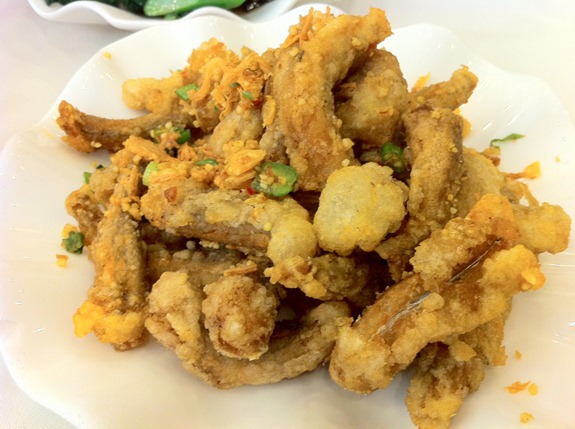
The Panfried Pork buns were so good.  The pork filling is like the kind you get in xiao long bau.  However, the bun is like the yeast-risen steamed fluffy buns, but panfried on the bottoms so that you have a soft and fluffy texture on top, crunchy caramelized bottoms and juicy savoury pork filling with soup dribbling all down your chin.  They do indeed retain the soup well and I really enjoyed this version.

Thursday 21 April 2011

TENHACHI JAPANESE RESTAURANT

IMG_0519

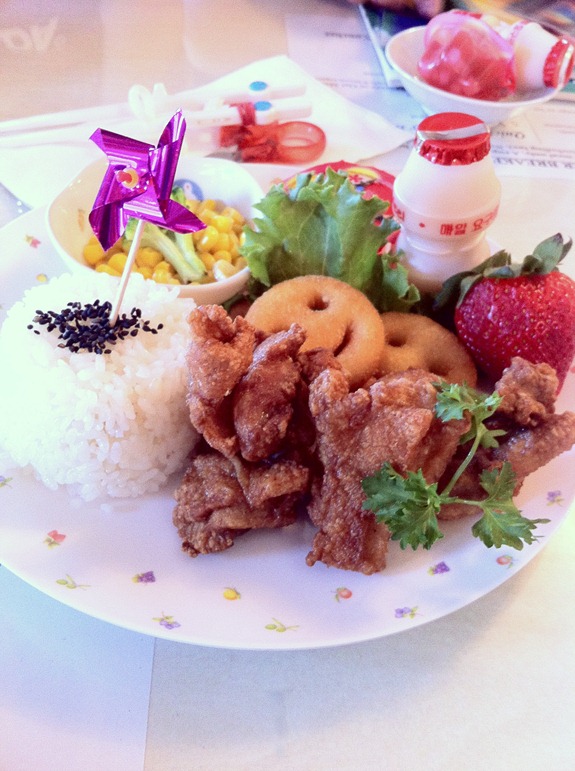
Someone knows kids at Tenhachi!   A pinwheel? how cute is that?

Wednesday 20 April 2011

EASTER MINI CHICK CAKEBALL DECORATIONS

700_1449

                                                                               Peep! 

700_1459

So cute, eh?

I was contemplating making white chocolate chicks, but felt that my chocolate plastic tutorial posts that people have been visiting like crazy since I posted them a while back were done to death around the foodie world.

I needed inspiration.  I hate the taste of fondant and royal icing isn’t any better.  I love buttercream but making buttercream roses are so Safeway!   I’ve seen the craze peak with the famous Cakeballs and Cakepops that have been popularized by Bakerella.  The other day, on a stroll past a Starbucks, I saw Cakepops displayed along with Gargantuan Cupcakes in the glass display in front of the baristas.   You know food trends have peaked when they hit Starbucks and now that I’ve seen macarons at Costco,  you know they are so passé!

But I do wish I could start a trend.  hee hee!

700_1452

Last night, while brainstorming ideas to bake before Easter weekend, I had an epiphany of sorts.  Of all the trends, I thought about  how yummy cakeballs really are.  They’re moist and they’re quite sturdy with the chocolate coating.  They are easy to decorate.  They’re cute!   How could I go wrong with that?  I was going to bake a batch of cupcakes and mash them with buttercream to produce a whole flock of chick cake balls like I did last Easter.   But I’ve done that already.   I was waffling between baking cupcakes and making cakeballs.
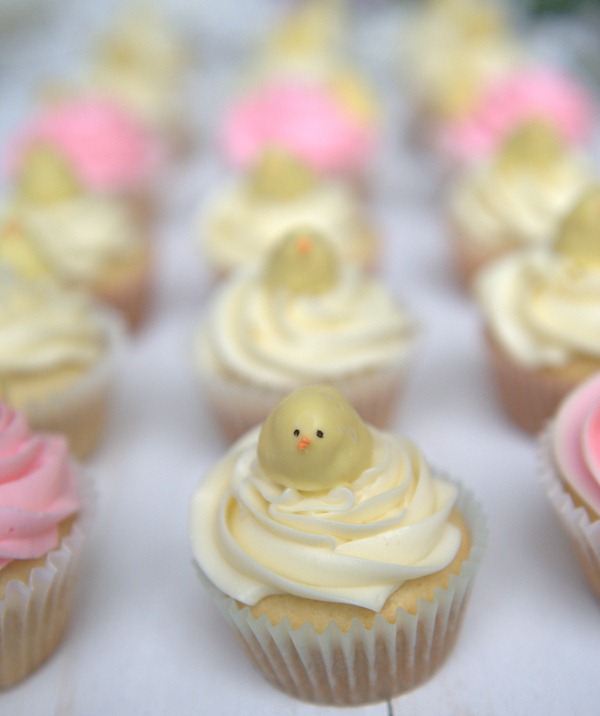
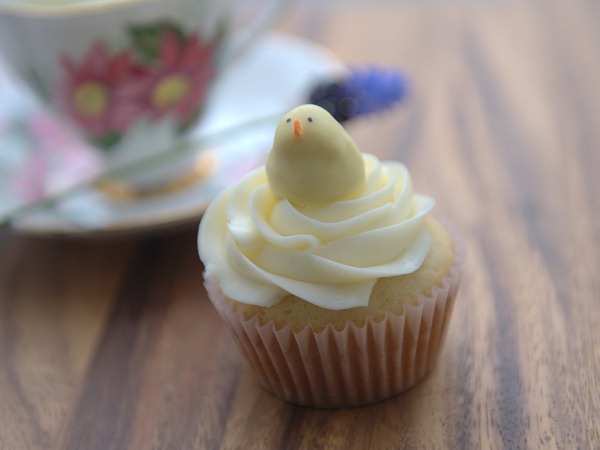
So I decided to sculpt tiny cakeballs into teeny chicks that would perch on the cupcakes.  The little balls of cake were so tiny I only had to break down 3 cupcakes to make enough to make these decorations.  Decorating the chick faces was not the easiest.  You need a steady hand and tweezers.  But I had so much fun making these tiny cakeball sculptures!

And there you are…my personal contribution to the food blogging world:  Mini Cakeball Sculptures--THE NEW WAVE for cake decorating!    They are deliciously edible, very sturdy and you can make them ahead of time.  You are only limited by your imagination, your patience and possibly,  fine motor skills!

700_1419P


Yes, cakeballs are not new and neither are chick cakeballs, but the fact that they are sculpted into incredibly tiny forms for cake decorating is!    What a concept! decorating a cake with more cake! yah!

700_1409


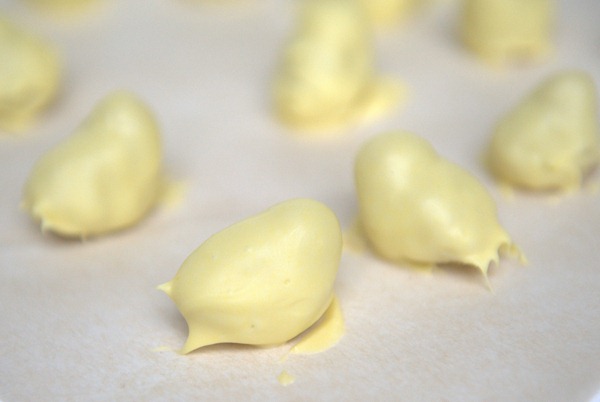
Here’s a close-up of the mini chick cakeball sculptures before I dunked them in the candy coating.

700_1414


I added yellow food colouring to white candy melts to get this shade for my chicks.  Notice how un-chicklike they are right now?  Not so pretty.

700_1417


In fact, as they are drying on the parchment here, you can see how much of a mess I made with the dipping.  I must admit this is my least favourite part of the whole cakeball- making process.  The mini sculptures have definitely got bird-like features though. 

700_1427


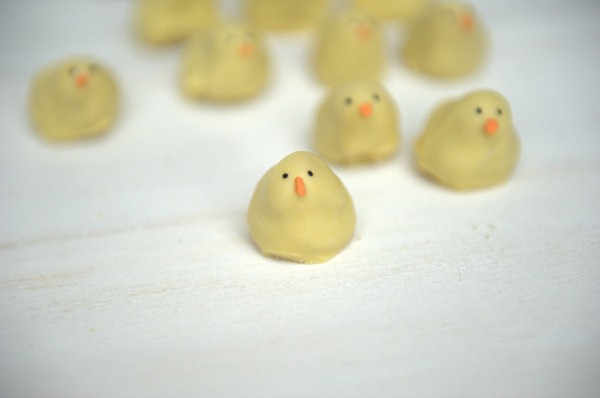
Precious!

700_1426


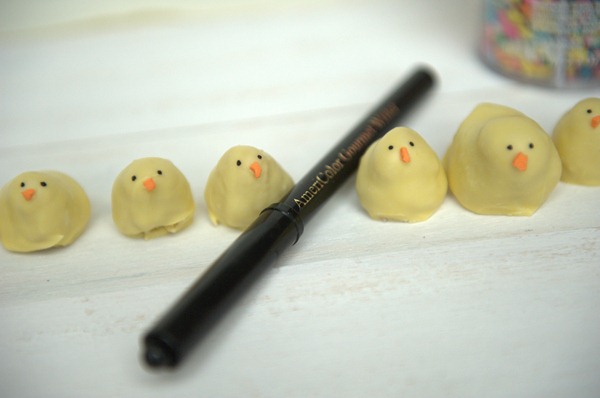
Once dry, I used a Food Writing Pen to make eyes and I crushed a few orange flower sprinkles for the beaks.  

700_1443


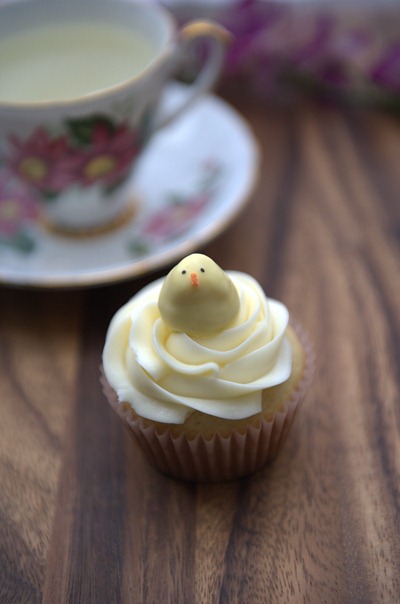
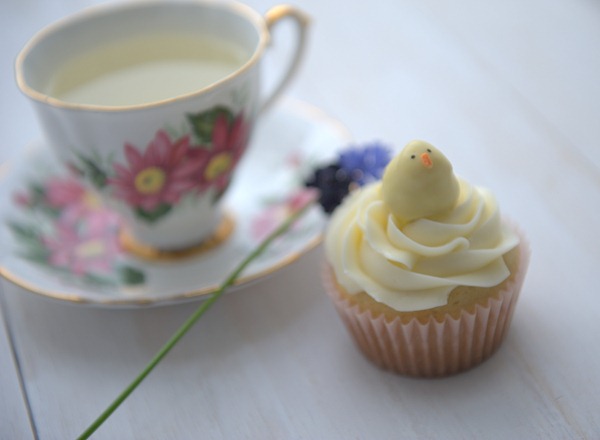
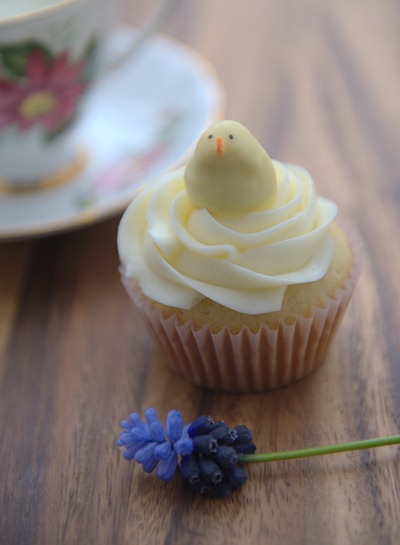
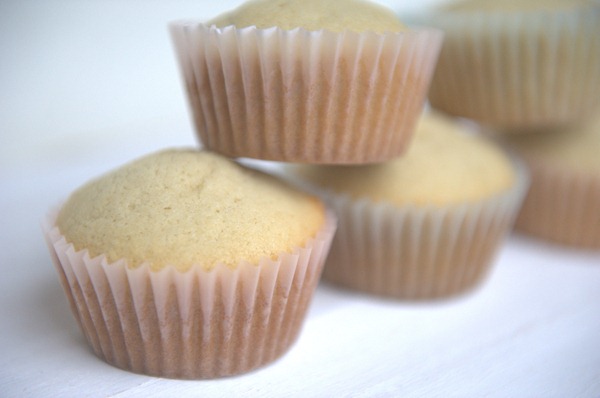
From the batch of 24 cupcakes, 3 were used to make the mini cakeball sculptures and the rest were decorated as usual with Swiss Meringue Buttercream swirls.  I perched the finished chicks on the cupcakes and voila!

700_1441


700_1455


The little chicks were so popular with my daughters and I imagine they would be at any Easter kiddie party.   Have a good Easter Holiday everyone!

Thursday 14 April 2011

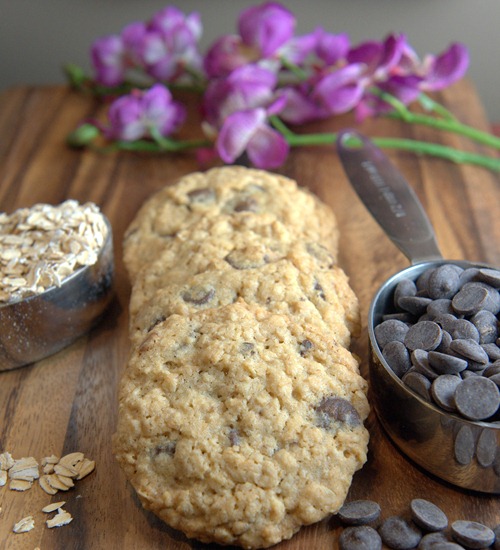
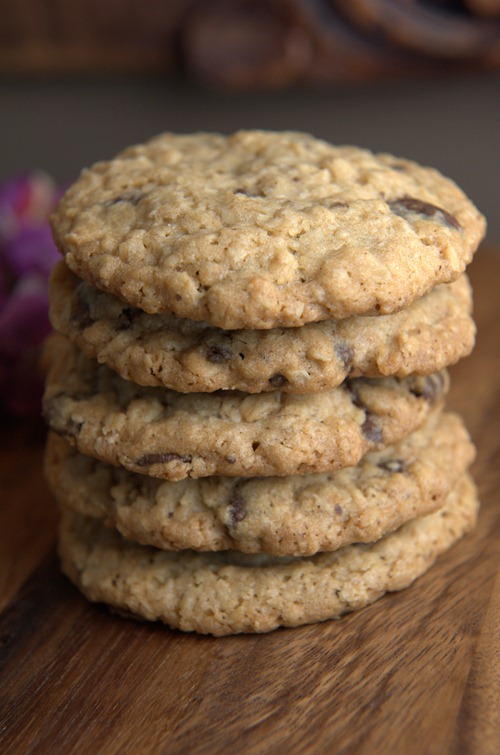
OATMEAL CHOCOLATE CHIP COOKIES

700_1394P

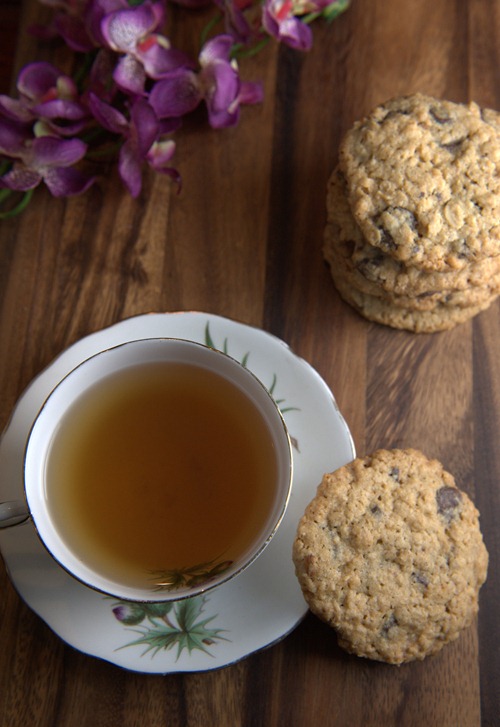
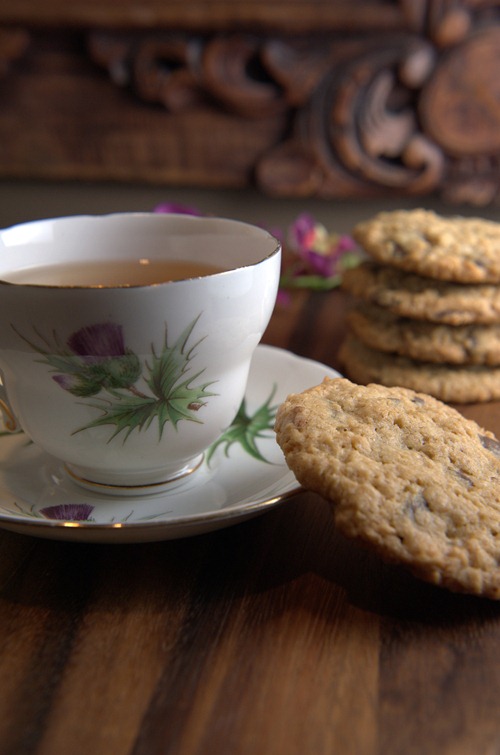
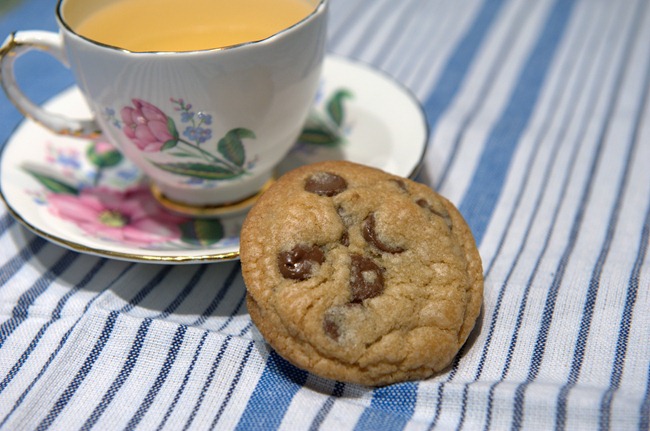
Longan & Ginger Tea with an Oatmeal Chocolate Chip Cookie. 

700_1383P


Sometimes you just need to bake a batch of cookies. 

Today was such an occasion.  Bebe is 7 years old (almost 8!) and still has all her baby teeth in her mouth.   Her little baby teeth are hanging on like the dickens and two new teeth have come in on the bottom behind the baby ones but the little buggers are hanging on for dear life.  When she opens her mouth she looks like a fish…the two front bottom baby teeth are all wonky looking as they jut forward and the permanent teeth are peeking out behind them.  The effect is not unlike looking into a  shark’s mouth.

700_1386P


Though the thought of the tooth fairy coming is enticing, Bebe is not inclined to yank her loose teeth out.  One of them is so loose the tooth can flex forward almost horizontally.  The dentist had said this is quite common and to encourage her to wiggle it for 10 minutes every day.  We did that, but I have a feeling she isn’t putting too much energy into the wiggling.  When she eats, she manoeuvres food to the sides to bite and when I brush her teeth with the Oral B, she moves her mouth around so that I don’t end up brushing the bottom ones too long.  I make it a point to brush those loose teeth as well as I can as well as those new permanent ones erupting, but for some reason, they’re still stuck really good! 

Two weeks ago, Stomach decided that we had waited long enough.  In the background, my mother was vocally reminiscing about the good ol’ days when parents would tie a string to the child’s loose tooth and the other end to a doorknob…you can guess what happened next! or giving a candy apple or corn on the cob to the child to eat.   There were anecdotes about pliers that I won't divulge at this minute...

These are the same stories she threatened me with when I was young and they didn’t make my teeth come out any sooner nor did they reassure me.  I think she was merely entertaining herself by scaring the heck out of me.  I do recall vivid dreams about losing my teeth and having them all fall out in my mouth.  I also remember nightmares of swallowing my teeth.   I wonder if her stories had anything to do with the dreams.  Well, though I myself was reluctant to “help” pull out Bebe’s loose tooth, my husband sure was game for it.  He fetched a small towel and thought that he could grab it and pull it out.

Boy was he wrong.

700_1400P


After 2 unsuccessful attempts and lots of struggling and whining from Bebe, he gave up and said it was stuck in there really good.   That is until today, when Bebe showed us just how loose the tooth had gotten.  She could flex it all the way down!  Surely that’s loose enough to pull out he thought.

Again, with the small towel, he tried to grab the little tooth.  “It’s hard to grasp!” he muttered.  Meanwhile, Bebe was contorting and trying to cover her mouth.  She was so not into this scenario.  A little drop of blood oozed out and she started to cry.  The little tooth held fast.   He gave up.

I felt bad for her.  I told him to stop trying and just let it fall out.  I mean geez, there really isn’t any need to traumatize her!    She knows she’s the last kid in her Grade 2 class to lose a tooth.  Everyone else, including kids way younger than her, have lost at least one tooth and some have lost way more…8!   So, how does mommy make the owie and tears go away? A freshly baked batch of Oatmeal Chocolate Chip Cookies!  It took me about 25 minutes from mixing bowl to her plate.  The episode was soon forgotten and even Stomach had a small piece of one of the cookies.  As you know Stomach doesn’t eat any sweets and ironically all my baking is left untouched by him because he doesn’t like desserts at all.  He’s a weird one but he maintains that in a household with all this baking, it’s the only way he can keep his boyish figure.  Yeah right.  I think he’s a freak of nature.  I mean, who doesn’t like dessert?

700_1398P


Bebe had 2 hot-out-of-the-oven cookies before getting ready for bed.  I brushed her teeth and lingered with the brush over that little loose tooth and she shot me a look.    I let it go.  It is quite like a huge zit begging to be popped.   I guess you just have to leave it alone but it’s so hard not to poke and prod it!

I made myself a piping hot cup of my new favourite tea:  Longan and Ginger.  You get dehydrated seedless longans (they’re like lychees), fresh slices of ginger and water and bring it to a boil; simmering it in a saucepan for 20 minutes.  You can add sweeteners like cane sugar, a simple syrup, Stevia, honey or agave nectar to taste.  It’s more authentic with the unprocessed cane sugar bricks that I like to make into a simple syrup.  It’s so gingery hot and goes down really well if you have a dry throat.  After the kiddies were in bed, I had this tea with a cookie and thought it was a divine combination:  chocolate, ginger, nutty oatmeal and that feel-good warmth you get from making someone feel better with a cookie.

700_1392P


OATMEAL CHOCOLATE CHIP COOKIES
(adapted from Cooks Illustrated Thin and Crispy Oatmeal Cookies)
  • 1 cup (5 oz) unbleached all-purpose flour
  • 3/4 tsp baking powder
  • 1/2 tsp baking soda
  • 1/2 tsp salt
  • 14 tblsp (1 3/4 sticks) unsalted butter, softened
  • 1 cup (7 oz) granulated sugar
  • 1/4 cup packed (1 3/4 oz) light brown sugar
  • 1 large egg
  • 1 tsp vanilla extract
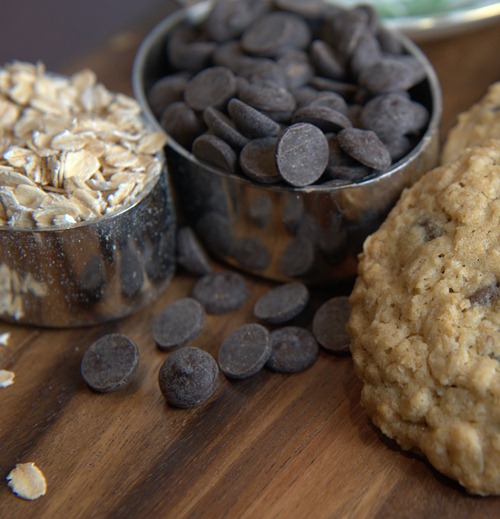
  • 2 1/2 cups old-fashioned rolled oats
  • 1 1/2 cups Callebaut Chocolate chips
  1. Adjust an oven rack to the middle position and heat the oven to 350 degrees F.  Line 3 large (18- by 13-inch) baking sheets with parchment.  Whisk the flour, baking powder, baking soda and salt in a medium bowl.
  2. In a stand mixer fitted with the paddle attachment, beat the butter and sugars at medium-low speed until just combined, about 20 seconds.  Increase the speed to medium and continue to beat until light and fluffy, about 1 minute longer.  Scrape down the bowl with a rubber spatula.  Add the egg and vanilla and beat on medium-low until fully incorporated, about 30 seconds.  Scrape down the bowl again.  With the mixer running at low speed, add the flour mixture and mix until just incorporated and smooth, 10 seconds.  With the mixer still running on low, gradually add the oats and mix until well incorporated, 20 seconds.  Give the dough a final stir with the rubber spatula to ensure that no flour pockets remain and the ingredients are evenly distributed.  Add the Chocolate Chips and mix to distribute.
  3. Divide the dough into 24 equal portions, each about 2 tablespoon (or use a #30 cookie scoop), then roll between the palms of your hands into balls.  Place the cookies on the prepared baking sheets, spacing them about 2 1/2 inches apart, 8 dough balls per sheet.  Using your fingertips, gently press each dough ball to 3/4 inch thickness.
  4. Bake 1 sheet at a time until the cookies are deep golden brown, the edges are crisp, and the centers yield to slight pressure when pressed, 13 to 16 minutes, rotating the baking sheet halfway through baking.  Transfer the baking sheet to a wire rack; let the cookies cool completely on the baking sheet before serving.

Sunday 10 April 2011

FORTUNE SEAFOOD RESTAURANT (OAKRIDGE)

IMG_0486

Har Gow…the classic dim sum dish that indicates a restaurant’s dim sum chef’s true abilities.   This  version had a thin skin, juicy prawn-rich filling and rated 5.5/6

EBISU KAMEI ROYALE

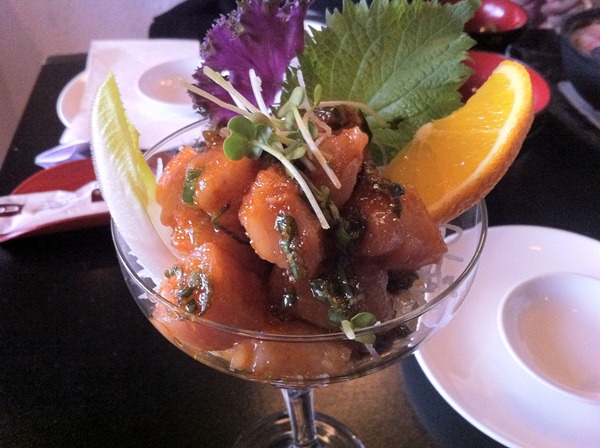
IMG_0471P
Spicy Tuna Sashimi Appetizer.

GOLDEN GREAT WALL RESTAURANT

IMG_0465-1P
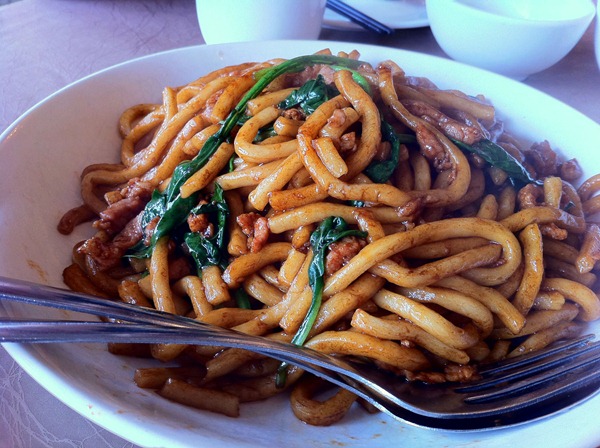
Shanghai Noodles.  This is why we keep coming back to this restaurant.  Stomach and my two daughters love this restaurant’s version of the dish.  There is good flavours, nicely textured noodles, “wok hei”—which is a wok’s high heat which creates the nice natural caramelization that is so sought after by cooks.  Plus, the dish isn’t soggy from too much cabbage.  Instead they employ pieces of fresh spinach.  There’s ample strips of pork tenderloin too.    Cakebrain’s rating:  5.5/6

HACHIBEI JAPANESE RESTAURANT

IMG_0508

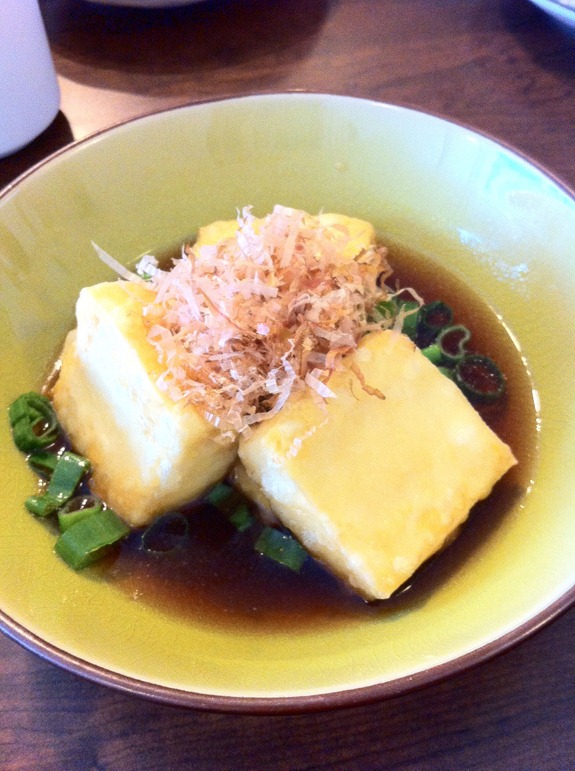
Agedashi Tofu at Hachibei Restaurant.  5/6

BEEFY BEEF NOODLE RESTAURANT

IMG_0500

Stirfried Noodles with Pork.  4/6

I must admit, I was dragged kicking and screaming to this restaurant.  I took one look at the name and wanted to run the opposite direction.  Stomach had been here with the kids on a previous occasion and they had those deep fried chicken nuggets and bubble tea. 

Saturday 9 April 2011

PANOS GREEK RESTAURANT

IMG_0482

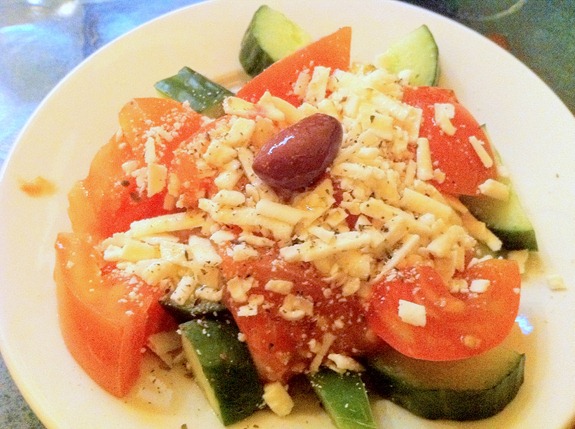
I really like Greek Salad.  It’s funny how I don’t like green peppers, onion and end up giving those elements to Stomach.  If I make it without the peppers and onions, it doesn’t taste right though.  This version was sufficiently seasoned and though tomatoes aren’t in season, and Vancouverites endure pinkish tomatoes most of the year, I still liked it. 

Wednesday 6 April 2011

BANANA BREAD-SQUARED

700_1367P
BANANA BREAD2


banana breadP
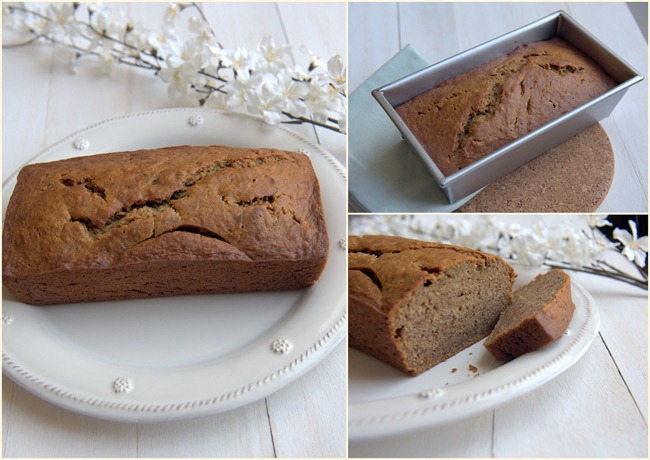
I made a recipe for TWO LOAVES and used TWICE as many bananas as I usually do.  I produced TWICE as much banana flavour. 

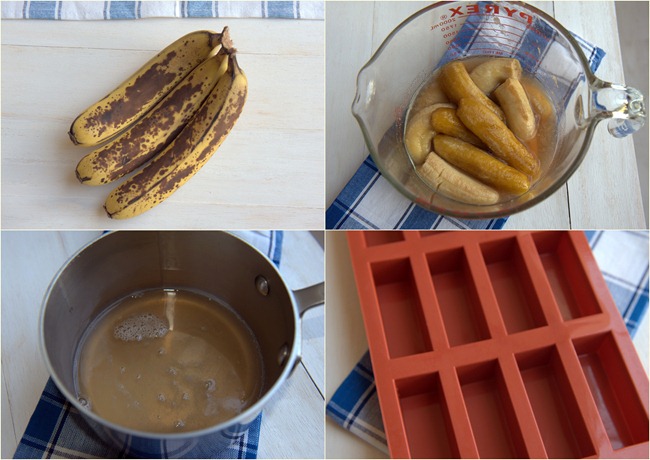
700_1361PaHow is this made possible without making the crumb gummy?  I used the old CI trick of microwaving frozen bananas, straining the liquid into a saucepan, reducing the banana liquid and adding it back to the batter in concentrated form.  Since making two loaves of the same size is just boring, I made one loaf, a whole bunch of mini loaves using my silicone financier mould and a medium-sized loaf too.   I used up some frozen bananas and about 3 fresh bananas that were just crying to be smashed up into bread.  In total, I was able to fit about 14 bananas into the recipe.  [NB:  the size of your bananas does matter. Mine were medium to small]  Through the concentration procedure, this enabled me to make up the usual amount of banana puree of 3 cups.
banana bread2P
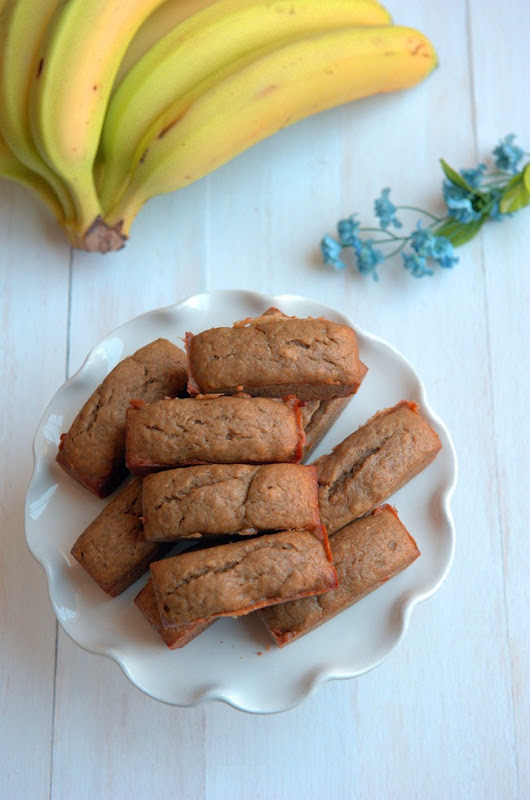
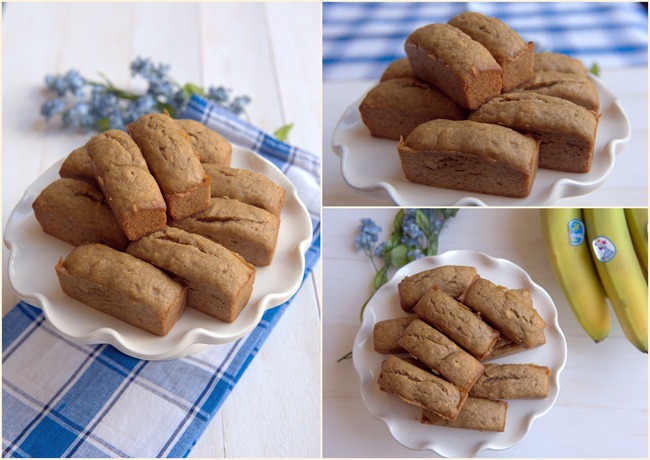
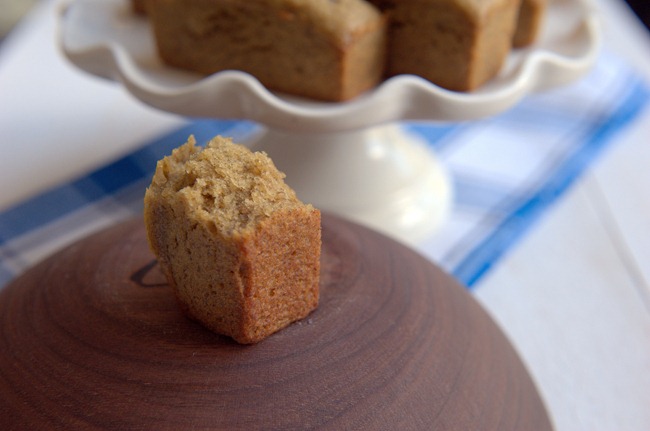
The mini loaves were my favourite.  They’re the perfect size for snacks and I plop two in a  baggie for my daughter’s recess snack.   The financier-sized mini loaves took 20 minutes to bake in their silicone moulds.
 
700_1345P
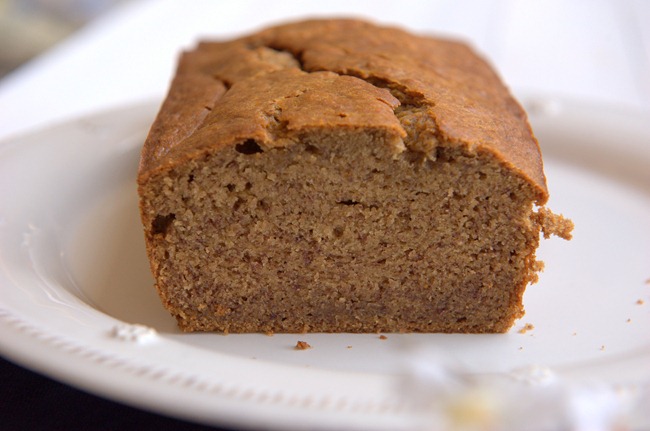
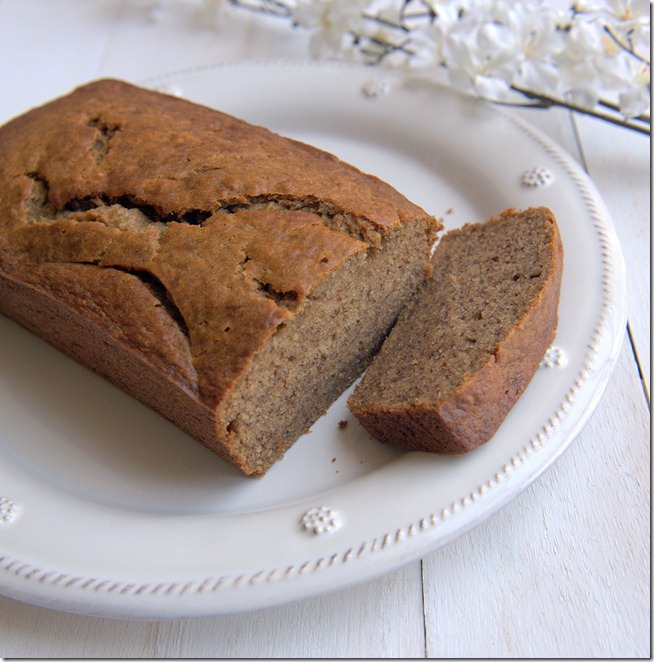
Fresh out of the oven, the banana flavour was intense and the crumb was tender and unctuous.  Very moist but not gummy.  That’s a good thing.

banana bread1P
The larger loaf takes from 60-70 minutes in the oven and it tasted just as good but just wasn’t as cute.

700_1376P
BANANA BREAD2
  • 2 1/2 cups unbleached all-purpose flour
  • 1 1/2 t baking soda
  • 1 teaspoon salt
  • 1 1/2sticks unsalted butter, softened [that is equivalent to 3/4 cup]
  • 1 1/2 cups packed dark brown (muscovado) sugar
  • 1 teaspoon vanilla extract
  • 2 eggs, room temperature
  • 10-14 frozen bananas (microwaved to release their liquid)  [do this 1-minute at a time;  but you don’t want to heat up the bananas to cook them—just release liquid]   You will need about 3 to 3 1/2 cups banana puree including the reduced liquid.  Banana size matters.  I had small to medium bananas.  Adjust # of bananas to yield 3 to 3 1/2 cups puree. 
  1. Preheat oven to 325 degrees F. Grease two 9 x 5 inch loaf pans. [I used one regular-sized loaf pan, one silicone financier mould and one half-loaf-sized mould].
  2. Prepare the bananas by microwaving them in a large pyrex container.  Nuke it at one minute intervals, checking it to ensure that you are not cooking the bananas; just releasing liquid.  Using a strainer/sieve over a small pot,  drain the banana liquid into the saucepan.   Heat the liquid over medium heat until the liquid is reduced by about a half.
  3. In a medium bowl combine flour, soda and salt with a wire whisk; set aside.
  4. In a large bowl cream butter and sugar with an electric mixer. Add eggs, concentrated banana liquid,  bananas, and vanilla, and beat at medium speed until thick. Scrape down sides of bowl.
  5. Add the flour mixture and then blend at low speed just until combined. Do not over-mix.
  6. Pour batter into prepared pans. Bake on center rack of oven for 60 to 70 minutes. [Adjust timing for different sized pans.  My financier moulds took 20 minutes and my half-loaf took 45 minutes.]   A toothpick inserted in center should come out clean, and the bread should pull away from the sides.
  7. Cool in pan, for 10 minutes. Turn pans on sides; cool to room temperature before removing and slicing.

Monday 4 April 2011

SMALL BATCH BAKING: CHOCOLATE CHIP COOKIES

700_1326P
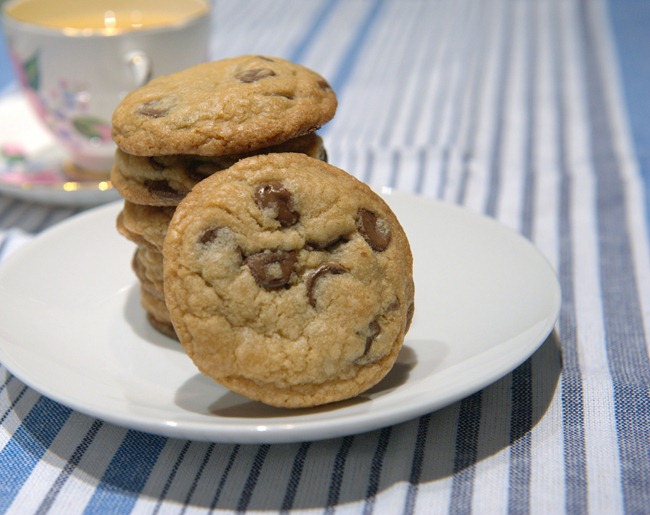
Small Batch Baking:  Chocolate Chip Cookies! (yield:  8)


700_1299P
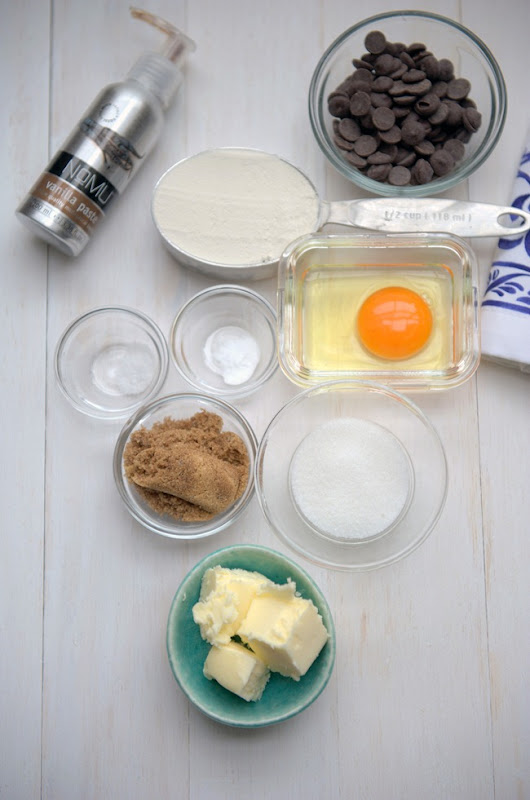
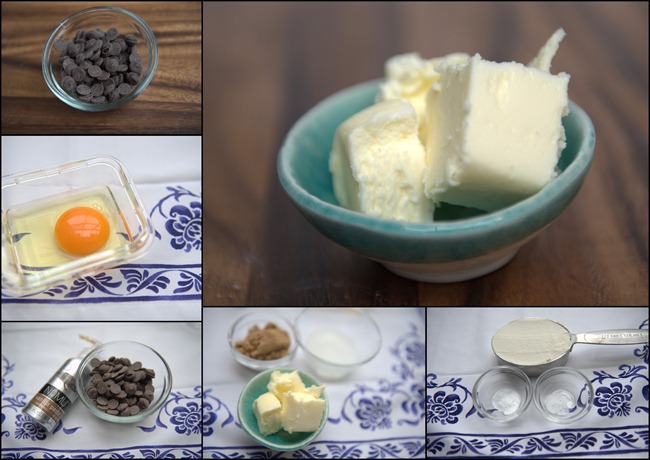
This is all you need:  ingredients for this small batch of chocolate chip cookies.  Amazing to think you can get 8 regular-sized cookies out of this!   You only need 1 tablespoon of the egg (beaten) and 1/2 teaspoon of vanilla.   No foolin’. Save the egg in the refrigerator for your  next batch (tomorrow)!

700_1302P
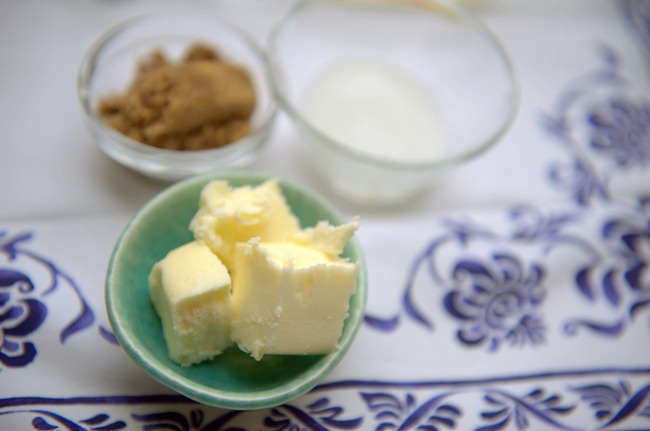
Cream together 3 tablespoon unsalted butter, softened;  3 tablespoons each brown sugar and granulated sugar.

chocolate chip cookies1
To the creamed sugar mixture, add the 1 tablespoon beaten egg and reserve the rest in the fridge.  Add Vanilla extract.  Mix well.  Combine the flour and 1/8 teaspoon baking soda and 1/8 teaspoon salt in a small bowl.  Add the flour mixture to the creamed mixture.   Stir well to combine and then add the 1/2 cup chocolate chips.  I used Callebaut.

chocolate chip cookies
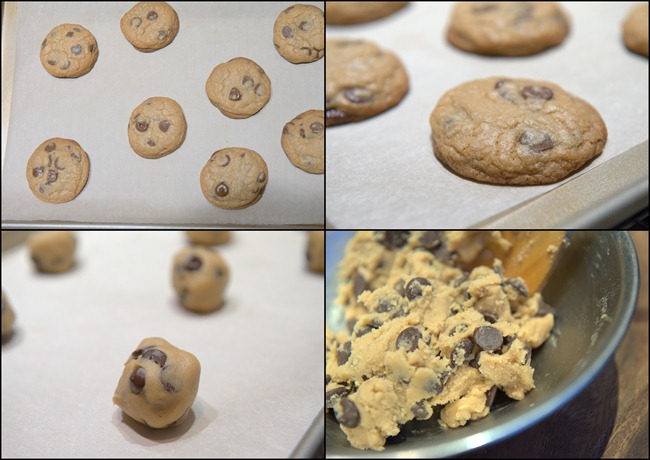
Divide the cookie batter into 8 equal portions.  Roll into balls and place on parchment-lined cookie sheet.  Bake at 375 degrees F for 10-13 minutes.    Allow to cool; remove to a baking rack to complete cooling.  [cakebrain’s note: we did not do this.  We ate them straight off the cookie sheet!]  Yields 8 cookies.

700_1327P
These were great out of the oven.  We ate more than half the batch (that’s 5 cookies, folks) right away.
What’s the point of baking a small batch?  Portion control.  And fresh-out-of-the-oven-cookies.  That, and it’s quite quick to make a small batch.  I didn’t whip out any electrical appliances.  I used a small bowl and a wooden spoon.  The author indicates to use a hand-held mixer.  To me, this defeats the point of making a small batch.  It’s too much washing-up.  These were fine made with the good ol’ wooden spoon. 

Small-batch baking is perfect for situations when there are only 1 or 2 of you in the household.  It appeals to people who don't like leftovers too.  If you prefer the fresh-baked smell and hot-out-of-the-oven-burn-your-mouth-sort of feeling, this way of baking is for you.  When I bake a batch of cookies, usually I have to bring more than half of them to work to share.  Now, this isn't necessarily a bad thing but it sure isn't as economical if you do a lot of baking.  Sometimes, I want to bake a great variety of things, but I can't because the counter is already full of my previous episodes of baking.

This recipe worked and it certainly satisfied our chocolate chip cookie cravings without endangering our waistlines.  In a super-sized society, it’s kind of nice to have this option to indulge without having to worry about having the will-power to have to stop at one.  That is, if you don’t eat the whole friggin’ batch by yourself.

I didn't buy Maugan's physical book but because I have a brand new iPad2, I went on Amazon and purchased the Kindle version to use on my Kindle and iPad2.  I bookmarked this recipe because it works and it's so quick.  Folks, this is the wave of the future.  I like the iPad2 because though I read novels primarily as an English teacher, I sure don't like the lack of colourful pictures on the Kindle.  The Kindle is great if you read tons of novels.  It's better on your eyes.  However, the iPad2 is great for magazines and cookbooks with colourful photographs of cakes and desserts [drool].

I can't tell you how relieved I am to be able to buy cookbooks again!  I am constantly restraining myself in bookstores because I have to weigh my desire with my physical space.  My bookshelves overfloweth with fantastic cookbooks I do not want to part with.  The  only drawback is not all books come in Kindle format yet.  That's my peeve.  I am also going to allow my Martha Stewart magazine subscription, my Cooks Illustrated subscription and my Fine Cooking subscription lapse.  I am loathe to dispose of all my magazines and it's just crazy.  I have MS magazines...and a whole bevy of others--dating all the way back to the 80's.  It's so difficult to find a recipe in all that even if you are organized and store them properly.

SMALL BATCH BAKING:  CHOCOLATE CHIP COOKIES
[adapted from Small Batch Baking for Chocolate Lovers by Debbie Maugans]
  • 3 tablespoons unsalted butter, softened
  • 3 tablespoons packed brown sugar
  • 3 tablespoons granulated white sugar
  • 1 tablespoon beaten egg [reserve the rest for later]
  • 1/2 teaspoon vanilla extract
  • 1/8 teaspoon baking soda
  • 1/8 teaspoon salt
  • 1/2 cup unbleached all-purpose flour
  • 1/2 cup chocolate chips
  1. Preheat oven to 375 degrees F.  Line a cookie sheet with parchment paper.
  2. Combine the flour, soda and salt in a small bowl.  Mix well.
  3. Cream the butter and sugars in a small bowl with a wooden spoon.  [Original instructions call for a hand-held mixer in a tall bowl, but I find that too bothersome.]
  4. Add 1 tablespoon beaten egg and the vanilla.  Mix well.
  5. Add the flour mixture and continue beating until thoroughly combined and you don’t see any traces of flour.
  6. Toss in the chocolate chips and distribute well.  Divide the cookie batter into 8 portions.  Form balls and space evenly on the cookie sheet.
  7. Bake for 10-13 minutes.  [Original recipe calls for 13-15 minutes but I pulled them out at the 13 minute mark…and thought they were a tad overdone because we like our cookies soft and gooey in the middle; not crispy.  If you like crunchy cookies, go with the longer time-frame.]

LinkWithin

Related Posts Widget for Blogs by LinkWithin